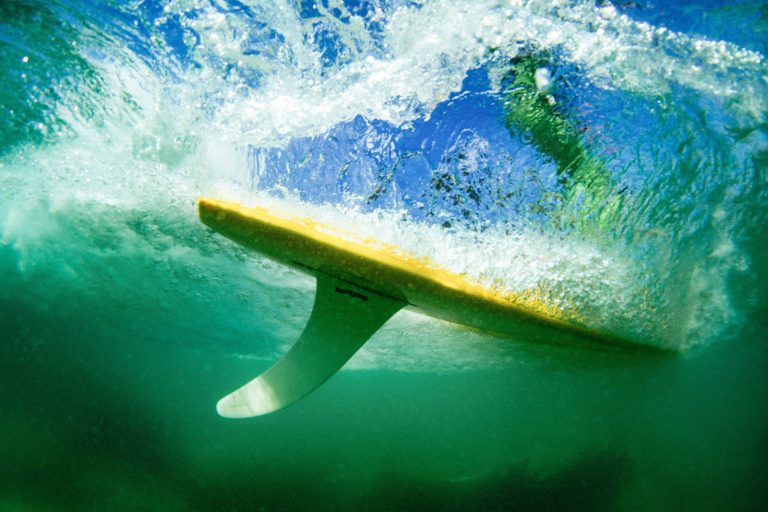
Getting to Know the Parts of a Surf Wave
To the average person, a wave just looks like a wall of water that crashes continually, one after another. But to a surfer, every part of the wave has a purpose, whether it’s for generating momentum, making turns, launching airs, or even making an exit out of the wave.
Knowing how to choose a wave is just one aspect of surfing—the other is knowing what you’re even looking at so you can put yourself in the right spot at the right time.
So, the first step in honing your wave-reading skills? Understanding the anatomy of an ocean wave and how to use each part to ride the wave effectively.

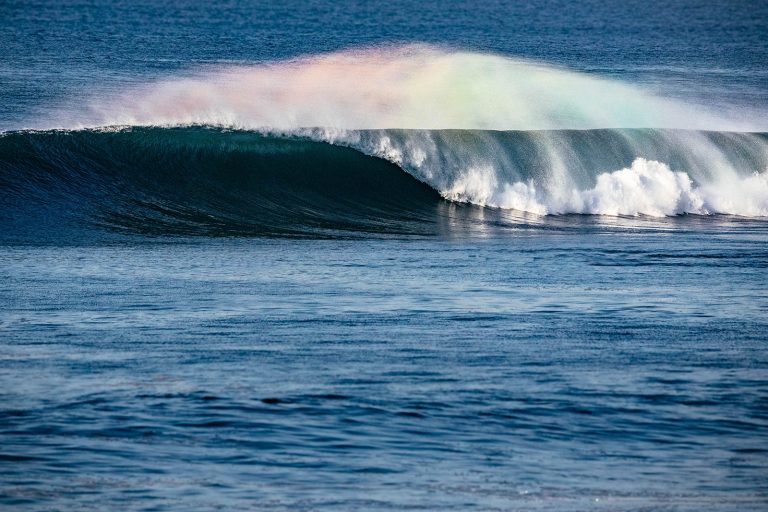
Face

The face (also called the wall, since it looks like a wall of water) is where most of the action takes place when you surf. This is the steep, unbroken portion of a wave just in front of the curl, and it’s also the part with the most power and energy.
This makes the face a great place to generate speed for turns, tricks, and other maneuvers. The steeper the wave, the more speed you gain as you go down the face. If you ride too far down the face (closer to the shoulder), then you’ll start to lose momentum—so it’s best to ride on the face, rather than in front of it.
Common maneuvers that happen on the wave face include drop-ins, trimming turns, going down the line, and (for longboarders) cross-stepping and “hanging ten” off the nose of the board.
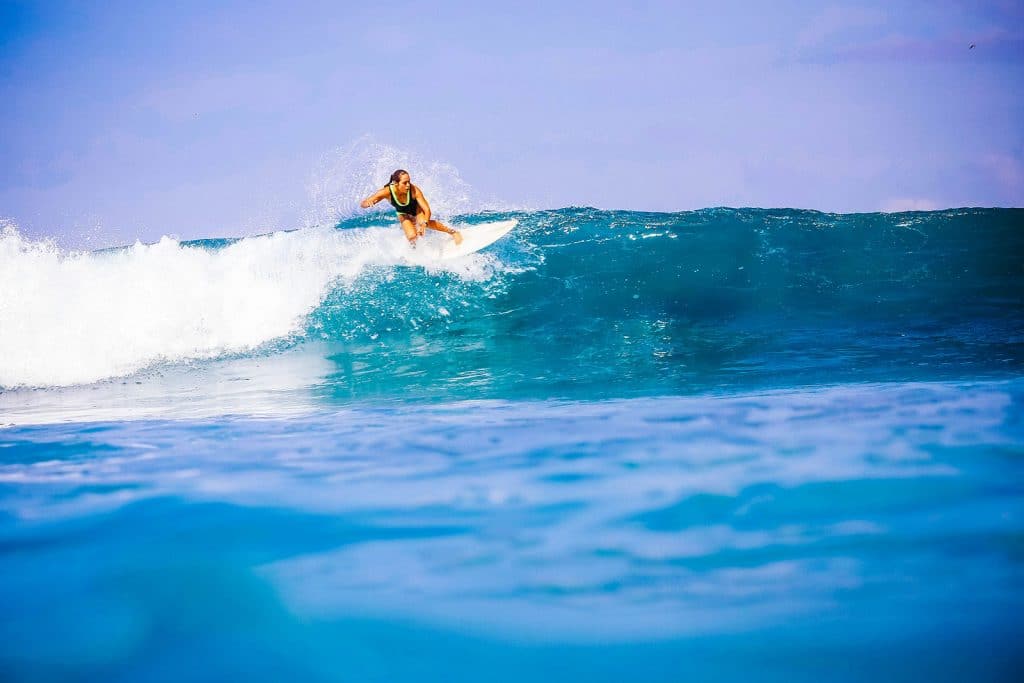
Peak

Also known as the crest, the peak is the highest point on a wave and the first to break. This makes it the ideal takeoff spot for surfers since it’s the steepest portion and the easiest place to paddle into a wave.
Spotting the peak is also key to reading and predicting how a wave will break.
Lip
The lip is where a lot of the wave’s strength is found and where more aggressive maneuvers happen. It’s the upper part of the wave that appears to be “pitching” from above as the wave is breaking. The lip allows for snaps, frontside cutbacks, off-the-lip turns, and other abrupt carving maneuvers.
The lip also serves as a path to get to the top of the wave so you can generate speed for the next maneuver. If you’re an advanced surfer, this part of the wave is where you can launch into aerials, tail slides, and other tricks.
While lip tricks don’t always require pro-level skills, a lot of them do because of the sharp turns needed to go back down the face.
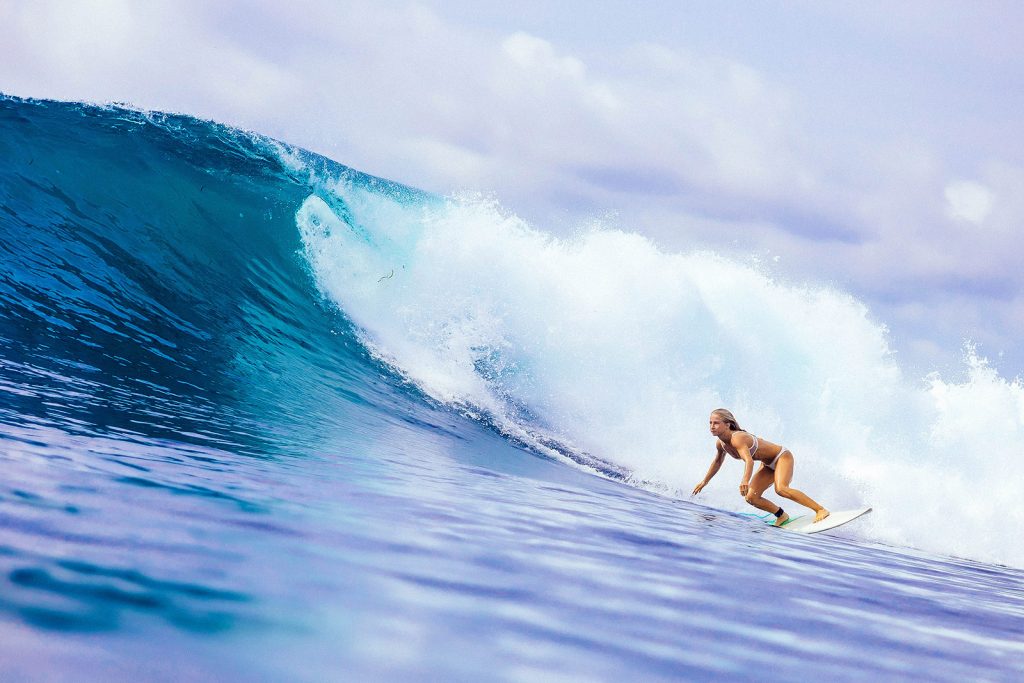
Shoulder

The shoulder is similar to the lip but further down the line, away from the breaking point of a wave. Because the shoulder is flatter and more mellow than the lip, it’s a great place for beginners and intermediate surfers to make basic turns and maneuvers.
Carves and more aggressive maneuvers are usually more challenging since surfing on the shoulder generates less speed. If you find yourself slowing down too much, you can cut back toward the break to regain your speed—this technique of bouncing between the lip and the shoulder is how experienced surfers string together combinations of tricks at different speeds.
Curl
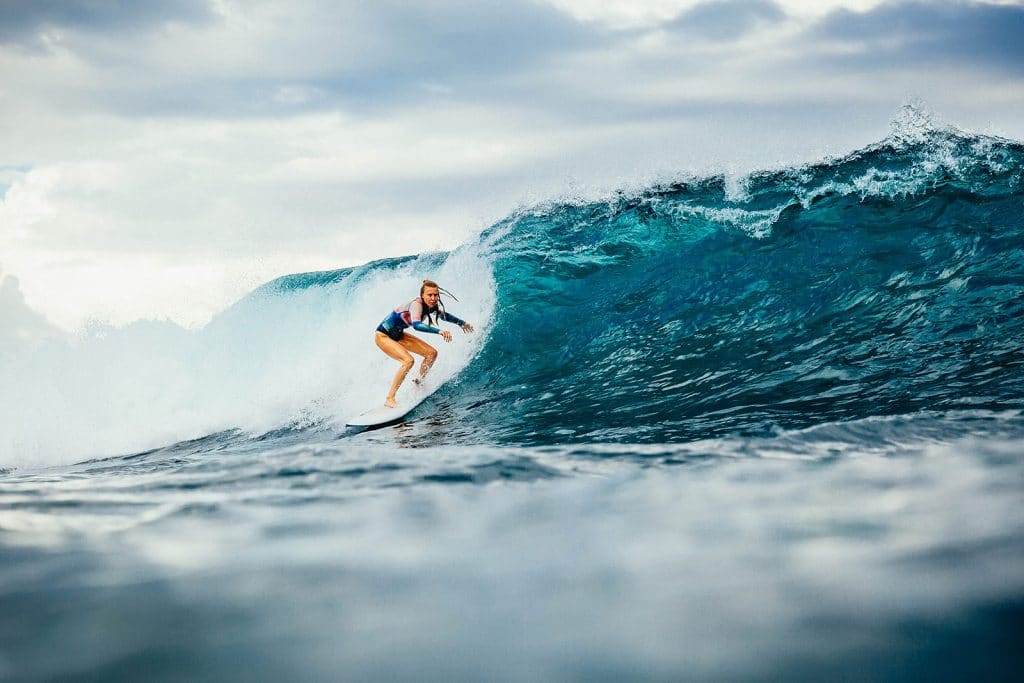
The curl (or pocket) is the concave part of a wave right in front of where it’s breaking, and often very steep. This is where most of the high-performance maneuvers happen, since the curl offers a vertical ramp (similar to a skateboard ramp) that allows surfers to do big snaps or airs.
It offers a lot of power and thrust, and more experienced surfers tend to stay in the curl to continue riding down the wave.
Tube

Just like the name says, the tube is the hollow part of a breaking wave where there’s a cylinder-like space between the face and the lip as it curls over. This section allows a surfer to get a barrel or tube ride “inside” the very core of the wave—or the “green room,” as you may have heard it called by other surfers.
Though the tube is technically one of the safest places on a wave, the margin for error is razor thin. Too far inside and you risk getting thrown “over the falls,” a pretty unpleasant experience for a surfer, especially if you hit the reef on your way down. Too far outside and you risk getting hit by the lip and knocked off your board.
Between those two extremes, however, you thread the eye of the storm for a few seconds (or even up to 30 seconds, depending on the wave) and ride through the very center of the wave’s power, hurtling toward the only opening in front of you.
Getting barreled is the pinnacle of surfing because not only does it require an advanced level of skill, it’s also rather elusive—perfect barrels are hard to come by, even at the best breaks. It needs clean, powerful waves, good offshore winds, the right tide, and a bit of luck and magic to make it all come together.
Trough
The trough is the bottom of the wave (and the opposite of the peak). If you find yourself here, you have to do a bottom turn to get back on the wave face (where you can generate speed again) to keep your ride going.
Impact zone
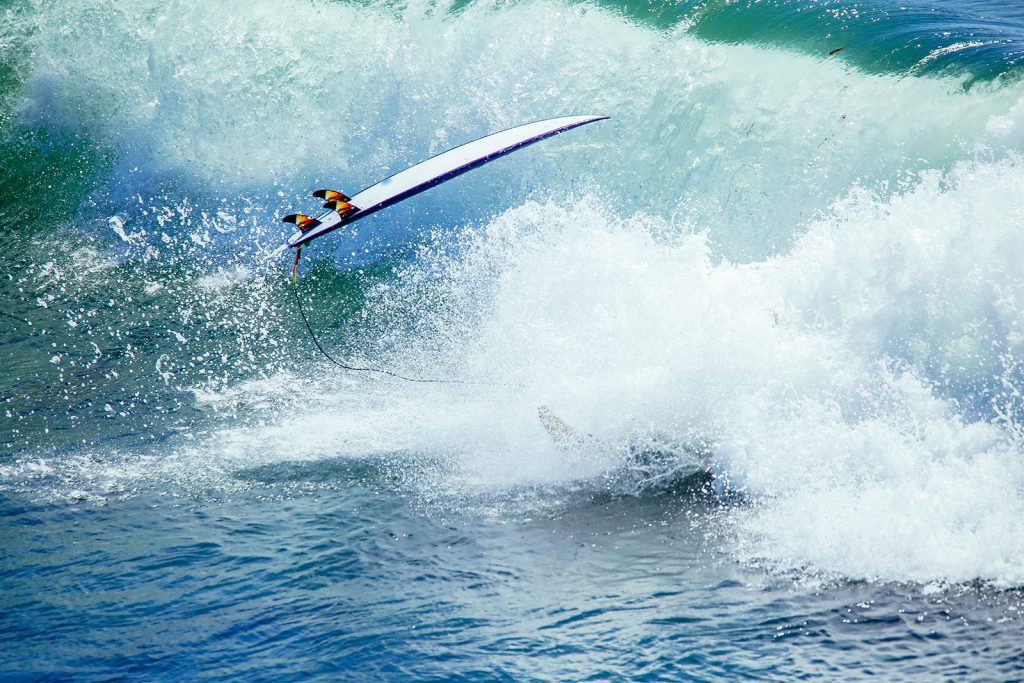
The impact zone is where the lip crashes onto flat water as the wave breaks. This is a bad place to get caught, whether you’re riding a wave or paddling out, because it’s where the wave concentrates all its power. If you’re in the impact zone, it can result in a nasty wipeout or tumble.
Whitewater

Whitewater is the section of turbulent foam that forms after a wave has already broken. This is the most forgiving part of a wave and it’s a good place for beginners to ride their first waves and learn basic maneuvers like popping up and balancing.
It’s also useful for bailing on a wave—if you find that conditions aren’t favorable or you want to end the ride, you can make a quick escape onto the whitewater and ride out of the wave.
Personally, this is my favorite way to end a good day of surf—riding the whitewater allllll the way to the beach and stepping off onto the sand with a huge smile on my face!
Now that you know the anatomy of a wave, let’s move on to the types of waves you’re likely to find on the beach and how to read a wave for surfing.